Showing posts with label vietnamese. Show all posts

Monday, August 12, 2013

Easy Apple Pie Recipe

Everyone loves apple pie! It's tender and crunchy at the same time, amazingly delicious! It might seem very complicated but it's so easy to make. It's a little bit embarrassing to say but this is my first time ever baking and eating apple pie in the U.S. This is also my first attempt trying to bake it but I must say, it's not as complicated as it seems. In fact, it's extremely easy that everyone can make it. So let's give it a try! 

Ingredients:

  1. Pastry for 2 crust pie (2 frozen pie crusts) - I'm using frozen pie crusts for this recipe because I didn't have time to make my own pastry, but if you really want to make your own pastry, check out this pastry recipe
  2. 6 Granny Smith (green) apples (or any other apples, I'm using Granny Smith apples because I don't like my pie to be too sweet)
  3. 1/2 Cup brown sugar
  4. 1/2 Cup white granulated sugar
  5. 2 tsp. unsalted butter
  6. 2 tsp. all-purpose flour or corn starch
  7. 1 tsp. lemon juice 
  8. 1/4 tsp. salt
Recipe:

Here are 6 fresh Granny Smith apples that I got from WholeFood!

1/ Peel and cut each apple into quarters.

Then slice each quarter into thin slices 

Put all the peeled and sliced apples into a big bowl


2/ Add 1/2 Cup of white granulated sugar and 1/2 Cup of brown sugar to the apples 

3/ Add 1/4 tsp. salt and 1 tsp. lemon juice and mix everything up well 

4/ Let sit at room temperature for at least 30 minutes or up to a few hours 

5/ Place the apples and their juices in a strainers that is placed over a large bowl for another 15-30 minutes. This will help to capture all the juices from the apples. If you bake apple pie right after without capturing the juice, it would be very watery; the fillings and the crust won't be combined.  


6/ Take the juice collected from the apples and boil over medium-high heat along with 2 tsp. of unsalted butter until the liquid is reduced to about 1/3 Cup and is lightly caramelized (syrup-alike texture)
(Alternatively, You can also put the juice in the microwave for about 5-7 minutes)

Frozen Pie Crust
Chilled pie crust 
7/ Meanwhile, take out the frozen crust and let it sit at room temperature for about 10 minutes to soften

8/ Mix the drained apples slices with the cornstarch (or all-purpose flour) then pour the reduced syrup over the apples and toss well. 


9/ Pour the apples and the syrup into the chilled pie crust. 


10/ Place the top crust over the apples. Tuck any excess pastry under the bottom crust and them crimp the edges using a fork. 

11/ Using a sharp knife to make 5-6 slits (1.5 - 2 inches) from the center of the pie out towards the edge to allow the steam to escape.  After that, cover the pie with plastic wrap and place in the fridge to chill the pastry

12/ Preheat the oven to 425 degrees F (225 degrees C) 
*Remember to place a pan or a piece of aluminum foil to capture the juices from the pie* 

13/ Bake for about 35-50 minutes or until the juices start to bubble through the slits. The apples should feel tender when a fork/knife is inserted to test through one of the silts. 
Optional: To make the pie achieves a beautiful golden brown color, lightly beat an egg to make a wash and brush onto the crust. 

Remove the pie from the oven and place on a write rack to cool about 3-4 hours before cutting 

The pie should have a beautiful golden brown color like this! :) 

Close-up on the center slits 

You can serve warm at room temperature with vanilla ice cream 

The fillings is very tender, not to sweet and buttery. The crust is crunchy and flaky. This apple pie is just perfectly delicious. Everyone can make this easy and yummy dish, give it a try! 

Cheers!
Happy cooking
Cher
August 12, 2013 


Wednesday, August 7, 2013

Banh Canh Cua - Vietnamese Thick Noodles in Crab Soup Recipe


Hello guys! Today I have decided to do something different. I have created a Youtube channel especially for this blog and I've uploaded my first (cooking) video! For this recipe, I have conducted all the information I found online and created my own version of Banh Canh Cua! If you live in any Asian country, lucky you because you'll be able to find every single ingredient from the original recipe. However, for some of you who are currently living in Western countries, I know it'd be harder for you guys to find such ingredients. I feel you haha! It's really hard to find the exactly same ingredients here in the United States, unless you live in California. So I've created this recipe especially for foreigners and studying abroad students. I hope you guys enjoy! 


Here is my video recipe on Youtube: 


Ingredients: 

Shrimp Cakes: 

1. 1/2 lb. of headless shrimp
2. 2-4 garlic gloves (mashed)
3. 1 tsp. of all-purpose flour/corn starch
4. 1 tsp. sugar
5. 1/2 tsp. salt
6. 1 tsp. pork/chicken powder
7. 1 Cup of vegetable (cooking) oil

Broth: 

1. 8 oz. of crab chunks
2. 5-6 shrimps with shells 
3. 1/2 tsp. sugar
4. Salt
5. Fish sauce
6. 1/2 tsp. pork powder
7. Shrimps shells (leftovers from Shrimp Cakes)
8. ~3 bowls of water

Coloring Oil:

1. Cooking oil
2. 1/8 Cup of Paprika 

Toppings: 

1. 6 oz. of crab meat
2. 1 tsp. fish sauce
3. 1 tsp. pork powder
4. Salt
5. 1/3 Paprika oil (from Coloring Oil Step)
6. Udon noodles/Vietnamese thick noodles 
7. 1/2 tsp. corn starch/tapioca starch 
8. Vietnamese Cilantro
9. Green onions/scallions 
10. Bean sprouts 
11. Straw mushrooms (optional)
12. 1/2 lb pork lean (optional)


Recipe:

1. Wash 1/2 lb. of shrimps under cool running water. Take off the shells (but don't throw them away!) and take out the black veins on the shrimps' backs (these veins are basically waste). Wash them once again and dry with kitchen towel. 

2. Mash about 2-3 gloves of garlic in pestle and mortar then put the shrimps in and continue mashing until combined. You can either marinate the shrimps before mashing or marinate the shrimps after mashing (Marinate with 1 tsp. of sugar, 1/2 tsp. salt and 1 tsp. pork powder). After that, add about 1tsp. of corn starch in the shrimp paste to hold everything together. 

3. Heat a generous amount of cooking oil in a small skillet over high heat. Shape the shrimp paste into small and round balls (aka "shrimp cakes"). Wait until the oil is hot enough, lower the heat to medium then put the shrimp cakes in. There should be a 1/2 inch distance from each of the shrimp cakes to prevent sticking. Deep fry until the shrimp cakes reach golden brown color on both sides. Take them out and put on a kitchen towel to let the towel absorbs all the excess oil. 

4. Marinate 8 oz. of crab chunks and 5-6 shrimps (with shells) with 1 tsp. of sugar, a pinch of salt, a bit of fish sauce, and 1/2 tsp. pork powder. Marinate for at least 30 minutes.

5. In a medium pot, pour in a little bit of cooking oil. Wait until the oil is hot enough, toss in some mashed garlic and stir until golden brown. After that, put in the shrimp shells in and stir until they're cooked. Put the shrimps & crab chunks mixture in the pot and stir until cooked. Then, add about 3 bowls of water (depends on the servings) then bring to a boil. After it's boiled, lower the heat to low and  shimmer for about 30 minutes - 1 hour. Season to your taste; I usually add pork powder/fish sauce.

*For this step, you can substitute the shrimp shells with pork bones/chicken bones. I couldn't get any the day I was cooking so I just improvised (and it also made the recipe easier).

6. Meanwhile, make the Paprika coloring oil. In a small skillet/pan, heat the oil over medium heat. Wait until the oil is hot enough, put in about 1/8 cup of Paprika powder and stir constantly until it's all dissolved and has a nice red color. Turn off the heat and pour the oil into a bowl.

*The original recipe requires annatto oil (from annatto seed) which I can't find it anywhere in the supermarket. But if you have it, you can substitute it with Paprika.

7. Marinate 6 oz. of crab meat with 1 tsp. of fish sauce, 1 tsp. of pork powder, a little bit of salt and 1 tsp. of sugar. You can also add the coloring oil to make the color appear better.


8. Heat up a small skillet with a bit of oil. Cook the crab meat for about 1-2 minutes then leave it aside.


For the toppings, you can also add some straw mushrooms in the broth if you like. Plus, you can also cook a small piece of pork lean in the broth/separate pot and cut it into thin slices to serve with the soup later on.


9. Pour 1/3 of Paprika coloring oil in the broth for better coloring.


10. Mix 1/2 tsp. of corn starch with water and pour it evenly on the surface of the broth then stir well; this will make the soup thicken. If you do not wish your soup to be thick, skip this step.


11. Either drain/cook the Udon/Vietnamese thick noodles in the broth and it out into a nice bowl.


And now, time for assembling!


12. Assemble the bowl of noodles with cooked crab meat, thin sliced pork, some deep fried shrimp cakes, Vietnamese cilantro, bean sprouts, scallions, fried shallots (optional) and pour the soup on top.


There you go, a delicious and traditional Vietnamese noodles in thick crab soup! :)


Happy cooking, 

Cheers,

August 7, 2013 

Wednesday, July 24, 2013

Dessert Recipe: Almond Lychee Cheese/Green Tea Panna Cotta (Vietnamese Version) - Che Khuc Bach

Photo credits to Mina Le 

Vietnamese Panna Cotta cubes in sugar syrup (also known as Che Khuc Bach - meaning white cubes in sweet soup in Vietnamese) is currently a very hot trend in Vietnam; everyone is going crazy about this amazing yet simple dish. The white cubes (panna cotta) are made with milk, heavy/whipping cream, sugar, almond extract and cheese; these cubes are kept cool in the fridge for about 5 hours before serving with sugar/lychee syrup. I made it by myself, tried it for the first time and felt in love with it right away; the texture is jelly-like (tofu-lookalike) yet chewy, the cheesy taste is just blown-away! Let's get started and make this super easy and delicious dish!

Preparation time: 30 minutes - 1 hour (+ 5 hours Panna Cotta set in the fridge) 

Ingredients:

  • 4/5 Cup/200 ml of Milk (unsweetened)
  • 4/5 Cup/200 ml of Heavy/Whipping cream 

*I know there's no 4/5 Cup but try using 1 Cup and don't make it too full! (The reason why I do this is because I like my panna cotta to be firm, but if you do like it soft, use 1 Cup each)*
  • 1/3 Cup of Sugar (not too sweet, not too plain; about in the middle; alter to your own preference) 
  • 1 pack of unflavored Gelatine 
  • 1/4 Cup Cold water 
  • 1 Cup of Sugar 
  • 1 Ginger 
  • Sliced almonds 
  • 1 Canned Lychee/Longan
  • 1-2 drops of almond extract (optional)
  • 1-2 tablespoon of green tea matcha powder (optional)
  • 2 cubes of La Vache qui Rit (The Laughing Cow) cheese (optional)


Tools:

  • 1-2 plastic rectangular molds/trays/bowls/forms - whatever you can find to put your panna cotta in! 
  • Waved knife/Regular knife 
  • Whisk
  • A small saucepan


Recipe:

1. Bloom the Gelatine
Pour in 1/4 Cup of cold water in a small bowl and sprinkle 1 envelope of Gelatine over the surface. Let it set for at least 5-10 minutes 


2. In a small small pan, add in 4/5 Cup of Milk and 4/5 Cup of Whip Cream along with 1/3 Cup of sugar. Whisk them all up over medium heat to dissolve all the sugar. DO NOT bring to a boil. You can also check out my video below: 


3. After that, mix 2 cubes of The Laughing Cow cheese with 50 ml (1/5 cup) milk in a bowl (remember to subtract the same amount of milk from the original basic for panna cotta because we don't want to use too much milk) and heat it up for about 10s in the microwave. Then, mix it up again until it's smooth and drain it in the saucepan and continue to whisk everything up. *This step is optional, but if you like the cheesy taste then do follow this step!*


If you like the green tea (matcha) flavor then do the same as step 3 by substituting 2 cubes of cheese with about 1-2 tablespoons of matcha powder. Mix it up well and drain the mixture to the saucepan and continue to whisk them thoroughly like below: 


4. But if you don't like cheese or green tea, you can just leave it as it is now and add 1-2 drops of almond extract to the mixture and whisk it up!

5. After the gelatine has bloomed, put it in the microwave for about 10s. Mix it up well and add it to the saucepan; turn off the heat and continue to whisk for about 2 more minutes.

6. Drain the mixture into the mold (Make sure that there is no lumps in the mixture of panna cotta) 


6. Let the panna cotta for at least 5 hours. The more you let it set in the fridge, the firmer it's gonna be! But not after 2-3 days, haha!


7. Meanwhile, you can prepare the sugar syrup (sweet soup) and the toasted sliced almonds. I prefer using sweet soup instead of the canned lychee's syrup because it's too sweet for me.
Heat up 2-3 Cup of water in a small saucepan along with 1 Cup of sugar over medium heat to dissolve. After that, add some striped ginger to remove the strong odor of the sugar as well as to freshen the taste of the soup. Wait until the soup is completely cool, either put it in the fridge to keep cool or leave it outside and serve with ice afterwards. 


8. In a small pan/skillet, toast the sliced almonds over medium heat until golden brown. You can either stir it constantly or shake the pan up occasionally. A lot of people prefer shaking the pan to keep the almonds in their shapes; I personally used the stirring method and I found out that it was totally fine as well!


9. Time for assembling the dish!
This is how the set panna cotta would look like: Firm yet chewy! Use a waved knife (or regular knife if you can't find waved knife) and cook the panna cotta into 1" x 1" cubes.


Put some ice to the bowl, then add some canned lychees. After that, put in about 10-15 cubes (up to you!) into the same bowl. Now, pour in the canned lychee's syrup and sweet soup we did earlier (the proportion is 1:3 - 1 lychee's syrup goes with 3 sweet soup. Finally, garnish with some toasted sliced almonds on top and you're doneeee!


Tah-dah! This is how the final product should look like... The taste is indescribably delicious and the smell is amazingly fresh!! I've tried this recipe 3 times and it never failed me! 


Happy cooking and happy eating, guys! 
Cheers! 
Cher Vo
07/24/2013 

Sunday, June 30, 2013

June Throwbacks! + Quick Vietnamese Crab Soup Recipe


Honestly, June has been a tough month for me. I was having intense summer classes every single day so I couldn't really focus on anything else. I'm on a short vacation right now and I'll be going back to school tomorrow... However, I still managed to have fun with my friends because it's summer! So for this post, I will be posting pictures about some remarkable June events. I want to show you guys a glance of my life in Boston! ~ 

1/ Samurai Sushi - 827 Boylston Street (next to Apple Store) 


Lovely Korean-Japanese restaurant on Boylston! I highly recommend Pink Lady (pink ones with spicy mayo on top); my all-time Samurai favorite! Even though the prices seem a little bit higher than other sushi places, they do serve bigger portions. I'd also like to try the Shrimp Teriyaki some day cuz I heard it's pretty good too! ~ 

2/ Pho Pasteur - Chinatown 


Hmmm... I was craving for Hu Tieu Nam Vang (Phnom Penh Noodle Soup) so I went straight to Pho Pasteur hoping that they would have it. And yes, they do have it, but it's not what I was looking for at that moment. The authentic one usually includes shredded pork slices, fresh shrimps, pork liver, even beef balls sometimes. However, they served me a bowl of imitation crab meat, fish cake and some other stuff, which is totally... weird?

3/ Homemade Vietnamese street food - Stir fried corn with fried shrimps 

Super yummy! :) The crunchiness of fried shallots, fried dried shrimps along with the softness and sweetness of the corn make such a perfect combination! :)


4/ BBQ Day


Fun BBQ Day out at Larz Anderson Park, Brookline. We rented out 2 BBQ spaces in the park and brought our own food (meat, corn, sausages, shrimps, etc.). It was really fun and exciting! :) I also brought some seasoning spices to marinate the meat because I thought it would be more tasty. I was grilling the food so I didn't have time to take any pictures besides the one above. But if there's another chance, I will definitely take lots of pictures and share them with you guys! :)

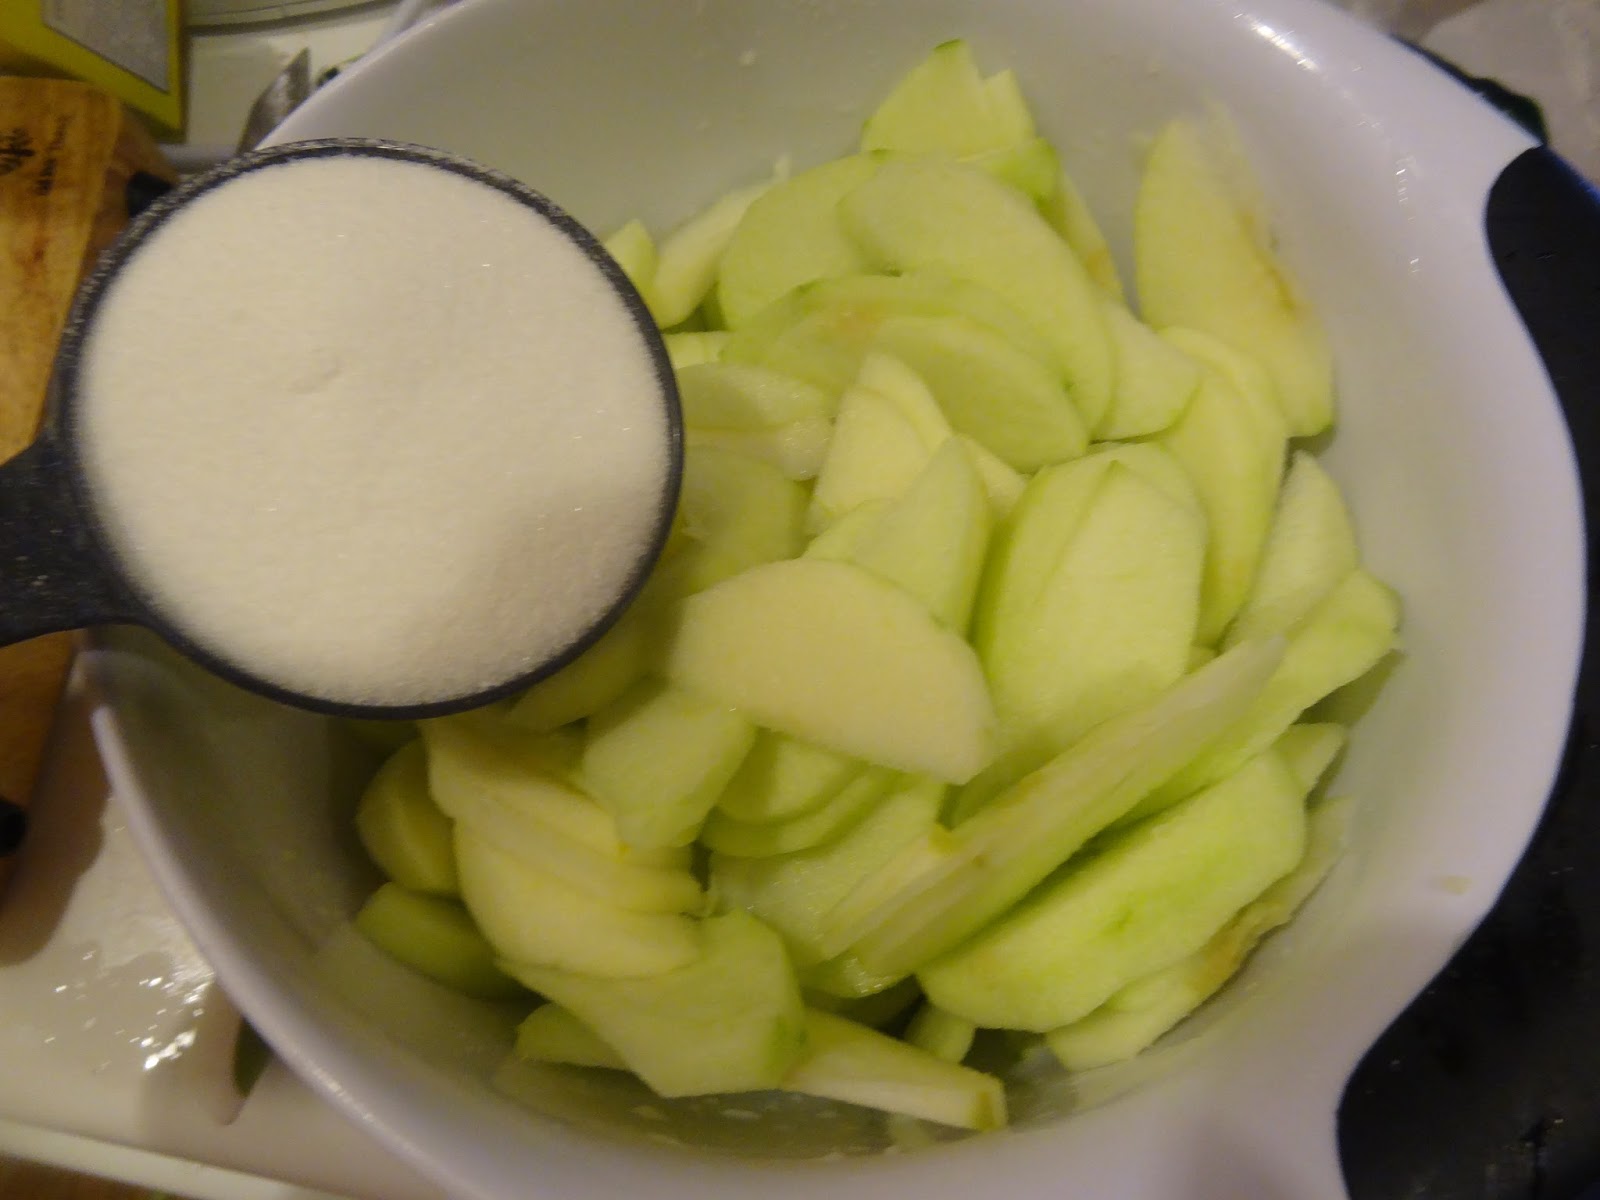
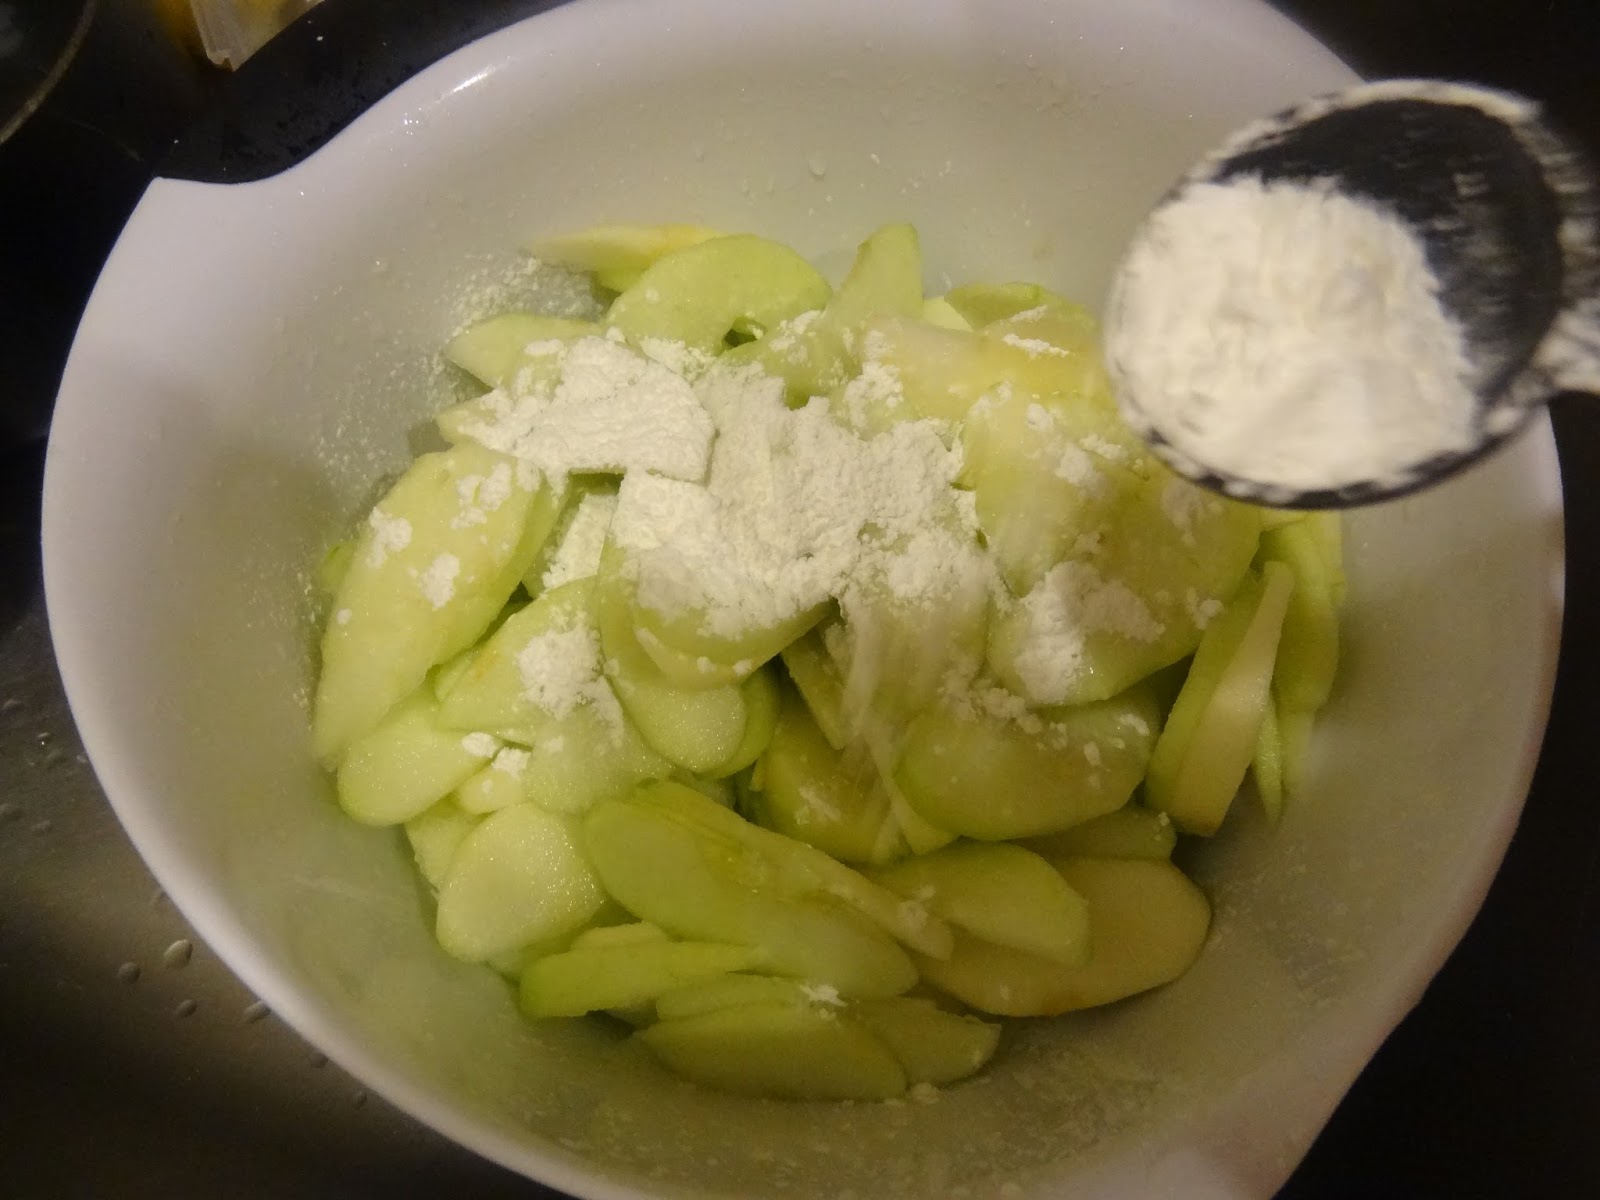
5/ Vietnamese food night

All of these dishes are marinated with the same ingredients: garlic, shallot, salt, pepper, a bit of sugar, fish sauce, soy sauce, oyster sauce, sesame oil, vegetable oil (to keep to moist), etc. 
You guys will need to prepare caramel sauce before cooking these dishes. You guys can simply heat up a pan with some vegetable oil/canola oil in it, then add sugar until it turns brown. After that, turn the heat off to cool down the pan and add in some fish sauce. Then, turn the heat up again and add in the main ingredients. 

Caramelized Shrimp and Pork Belly

Caramelized Pork Spare Ribs

Caramelized duck tongues (Super yummy)
*However, you need to soak the duck tongues in white wine + ginger for 10-15 minutes prior to cooking. After that, you need to wash them extra clean under running cool water to remove the odor. 


6/ Vietnamese crab soup (with shark fin, abalone, fried fish swim bladder?, quail eggs and shredded chicken)

This recipe takes a long time to prepare but only takes about 15-30 minutes to cook. 
Quick recipe here: 


1/ Boil the water and put the pork bones in and shimmer for about 2 hours. After shimmering for 1 hour, put in a cube of sugar/1 tablespoon of rock sugar (to keep the stock clear). You can also substitute with a peeled onion as well. 


2/ Meanwhile, soak the shark fin in a bowl of luke warm water along with white wine and some slices of ginger (to remove the fishy smell). After an hour, wash it gentle under running cool water and steam it. You can put it in a small bowl and then put the bowl in a pot (pour about 1/4 -1/3 water in the pot; just enough to steam the shark fin). Steam for about 30 minutes over low-medium heat. 


3/ Cut the abalone in small pieces. In the picture above, I haven't cut the abalone yet. 

4/ Soak the fried swim bladder (I took about 3 pieces) in about 10 minutes along with white wine and salt/ginger (to remove the fishy smell). After that, wash them gentle under cool running water. Then, cut them into small pieces. 


5/ Put 10 quail eggs in a pot and bring to boil over high heat. Wait about 5-10 minutes then peel the eggs under cool running water. 
*Tip: If the eggs are easy to peel, they are completely cooked. If not, then the eggs are just somewhat cooked. 

6/ Stir fry the crab meat over medium heat with some seasoning until slightly brown
7/ Put one small piece of chicken in the shimmering pork bones pot until the chicken is fully cooked then take it out. Wait for it to cool and then start tearing it off to small pieces. 
8/ After shimmering the pork bones for about 2 hours, take the pork bones out. Start putting processed ingredients such as stir fried crab meat and boiled shredded chicken in. 
9/ After that, put in 2-3 beaten eggs and stir well. 
10/ Start putting in the rest of the ingredients (except for quail eggs) and start seasoning your soup. I put in some chicken stock/chicken powder, salt, pepper and fish sauce.
11/ Then, in a small bowl, mix 2 tablespoons of tapioca starch/corn starch with 1/3 bowl of water then put it in the pot slowly. Keep stirring until the soup reaches the desired stickiness. You can put in the quail eggs now. 
12/ After that, you can either put in the sesame oil and chopped green onions in the pot or garnish them on top of the bowl before serving. 


Ta-dah! ~ You now have a delicious bowl of Vietnamese high quality soup! The reason why I called it 'high quality' is because I used a lot of expensive and nutritious ingredients for this recipe. You can also make this soup without using abalone and shark fin as well! It'd still taste super delicious! :) 

7/ Hotpot night 


I prepared the hotpot soup all by myself and it turned out to be sooooo good. I boiled the pork bones in about 2-3 liters of water (depends on how many people are eating) and shimmer in 2 hours over low heat. After that, I separate the soup into 2 portions, one is spicy and the other one is not (for vegetables and non-spicy eaters). Then, I season the two portions with the same seasonings; the only difference is that I put chili powder and chili peppers in the spicy portion for extra spiciness. 
For the side dishes, we bough beef balls, tong ho, mushroom, sliced beef, marinated chicken, tofu, fish cake, fish tofu, fried bean curds, etc. 

8/ Sunny summer in Boston

Yes, it's really really hot in Boston at the moment and it's gonna be the same until the end of September. Lots of people gathered at the fountain near Prudential and Church of Scientology to play with the water ~ 


9/ Father's Day: Dimsum and Haymarket 

I called my dad on Father's Day but he didn't pick up. So I sent him a message and he replied me the day after saying "Thank you my sweetheart!" ~ Gosh! How I miss my family! :( 


It's summer! It's Sunnies time ~ 


Haymarket was really crowded at the time we were there. I also saw a lot of tourists going around. The food in Haymarket is not excellent but it's not bad either; it's acceptable. I was craving for some American food at that time so I ordered a hot dog and a lobster soup from... some restaurants I don't remember...


Blue is perfect for the summer because it's a cool color; it relieves your stresses! 


Dimsum in Bubor Chacha. It's not the best and not the worst; it's somewhere in the middle. I was hoping that we could get a seat in Gourmet Dumpling House but it was so packed that we had to go to Bubor Chacha.


Walking around Boston Common ~ so sunny in Boston! Remember to put on some sunscreen before going out to protect your skin!

More entries coming soon! 
Have a nice summer, everyone! 
Cher Vo
June 30, 2013