Showing posts with label easy recipe. Show all posts

Monday, August 12, 2013

Easy Apple Pie Recipe

Everyone loves apple pie! It's tender and crunchy at the same time, amazingly delicious! It might seem very complicated but it's so easy to make. It's a little bit embarrassing to say but this is my first time ever baking and eating apple pie in the U.S. This is also my first attempt trying to bake it but I must say, it's not as complicated as it seems. In fact, it's extremely easy that everyone can make it. So let's give it a try! 

Ingredients:

  1. Pastry for 2 crust pie (2 frozen pie crusts) - I'm using frozen pie crusts for this recipe because I didn't have time to make my own pastry, but if you really want to make your own pastry, check out this pastry recipe
  2. 6 Granny Smith (green) apples (or any other apples, I'm using Granny Smith apples because I don't like my pie to be too sweet)
  3. 1/2 Cup brown sugar
  4. 1/2 Cup white granulated sugar
  5. 2 tsp. unsalted butter
  6. 2 tsp. all-purpose flour or corn starch
  7. 1 tsp. lemon juice 
  8. 1/4 tsp. salt
Recipe:

Here are 6 fresh Granny Smith apples that I got from WholeFood!

1/ Peel and cut each apple into quarters.

Then slice each quarter into thin slices 

Put all the peeled and sliced apples into a big bowl
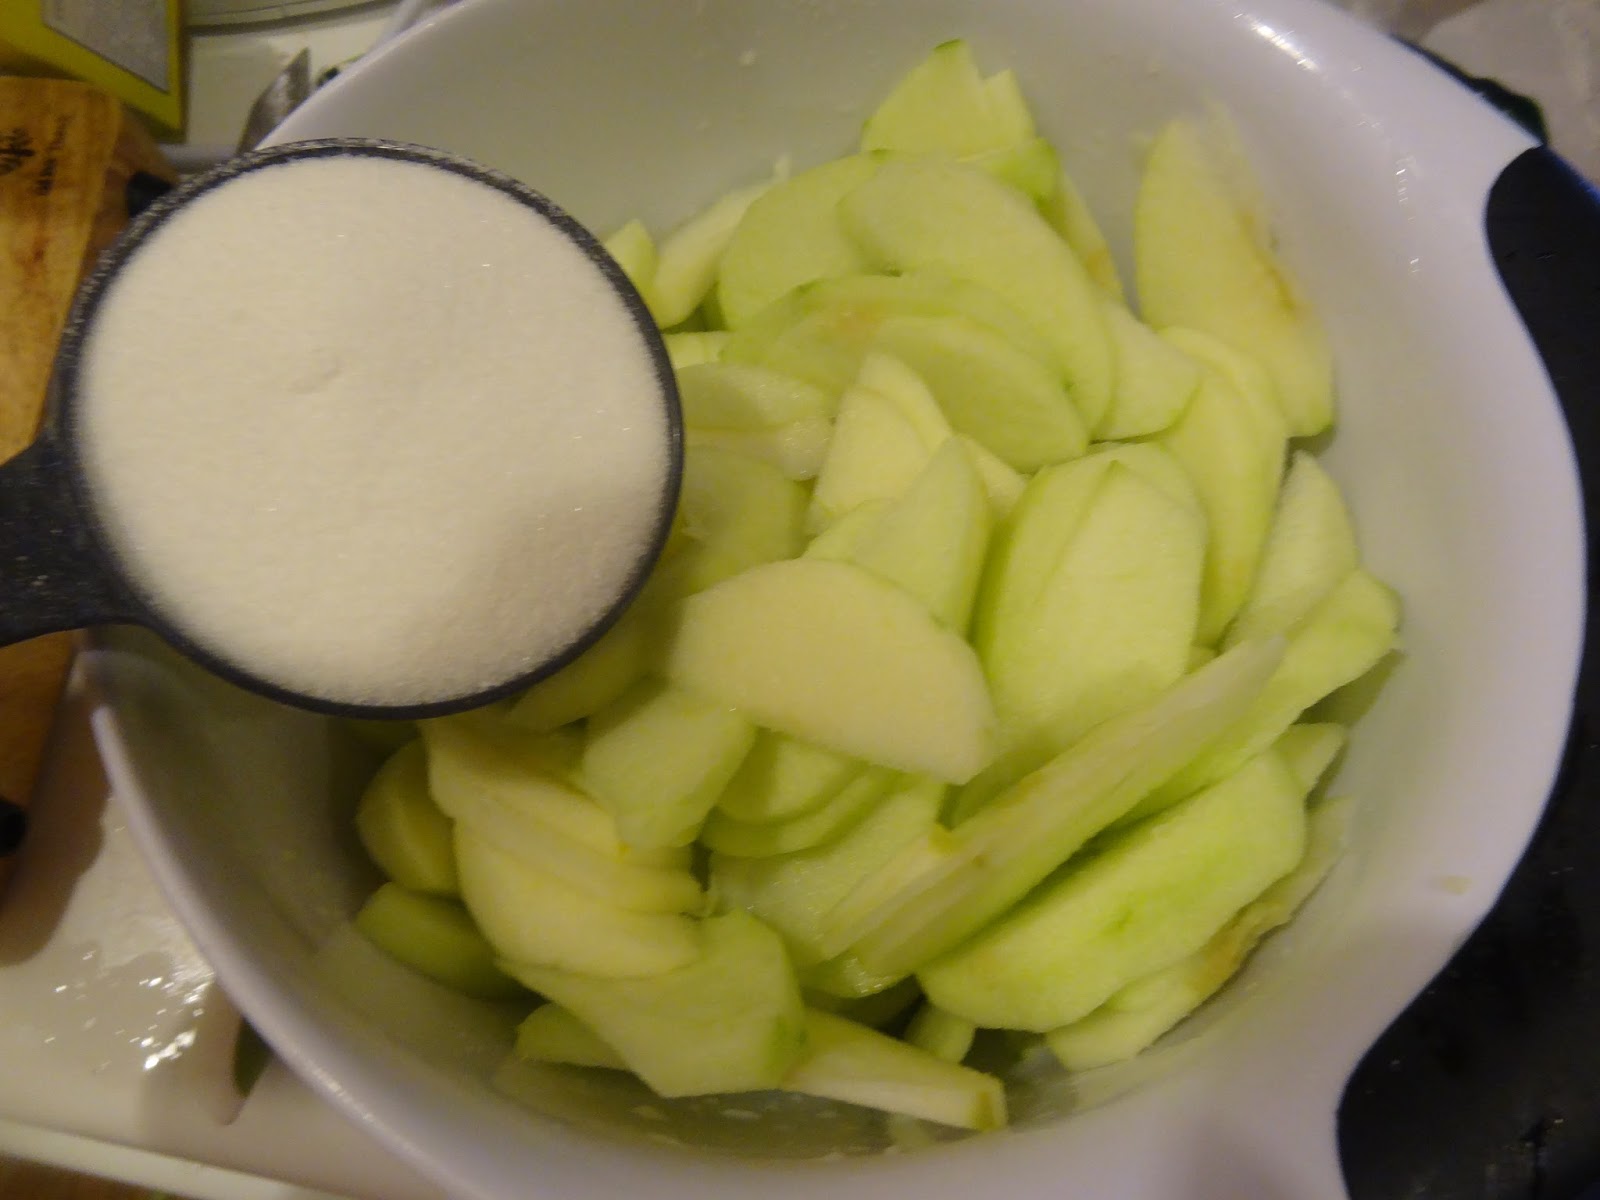


2/ Add 1/2 Cup of white granulated sugar and 1/2 Cup of brown sugar to the apples 

3/ Add 1/4 tsp. salt and 1 tsp. lemon juice and mix everything up well 

4/ Let sit at room temperature for at least 30 minutes or up to a few hours 

5/ Place the apples and their juices in a strainers that is placed over a large bowl for another 15-30 minutes. This will help to capture all the juices from the apples. If you bake apple pie right after without capturing the juice, it would be very watery; the fillings and the crust won't be combined.  


6/ Take the juice collected from the apples and boil over medium-high heat along with 2 tsp. of unsalted butter until the liquid is reduced to about 1/3 Cup and is lightly caramelized (syrup-alike texture)
(Alternatively, You can also put the juice in the microwave for about 5-7 minutes)

Frozen Pie Crust
Chilled pie crust 
7/ Meanwhile, take out the frozen crust and let it sit at room temperature for about 10 minutes to soften

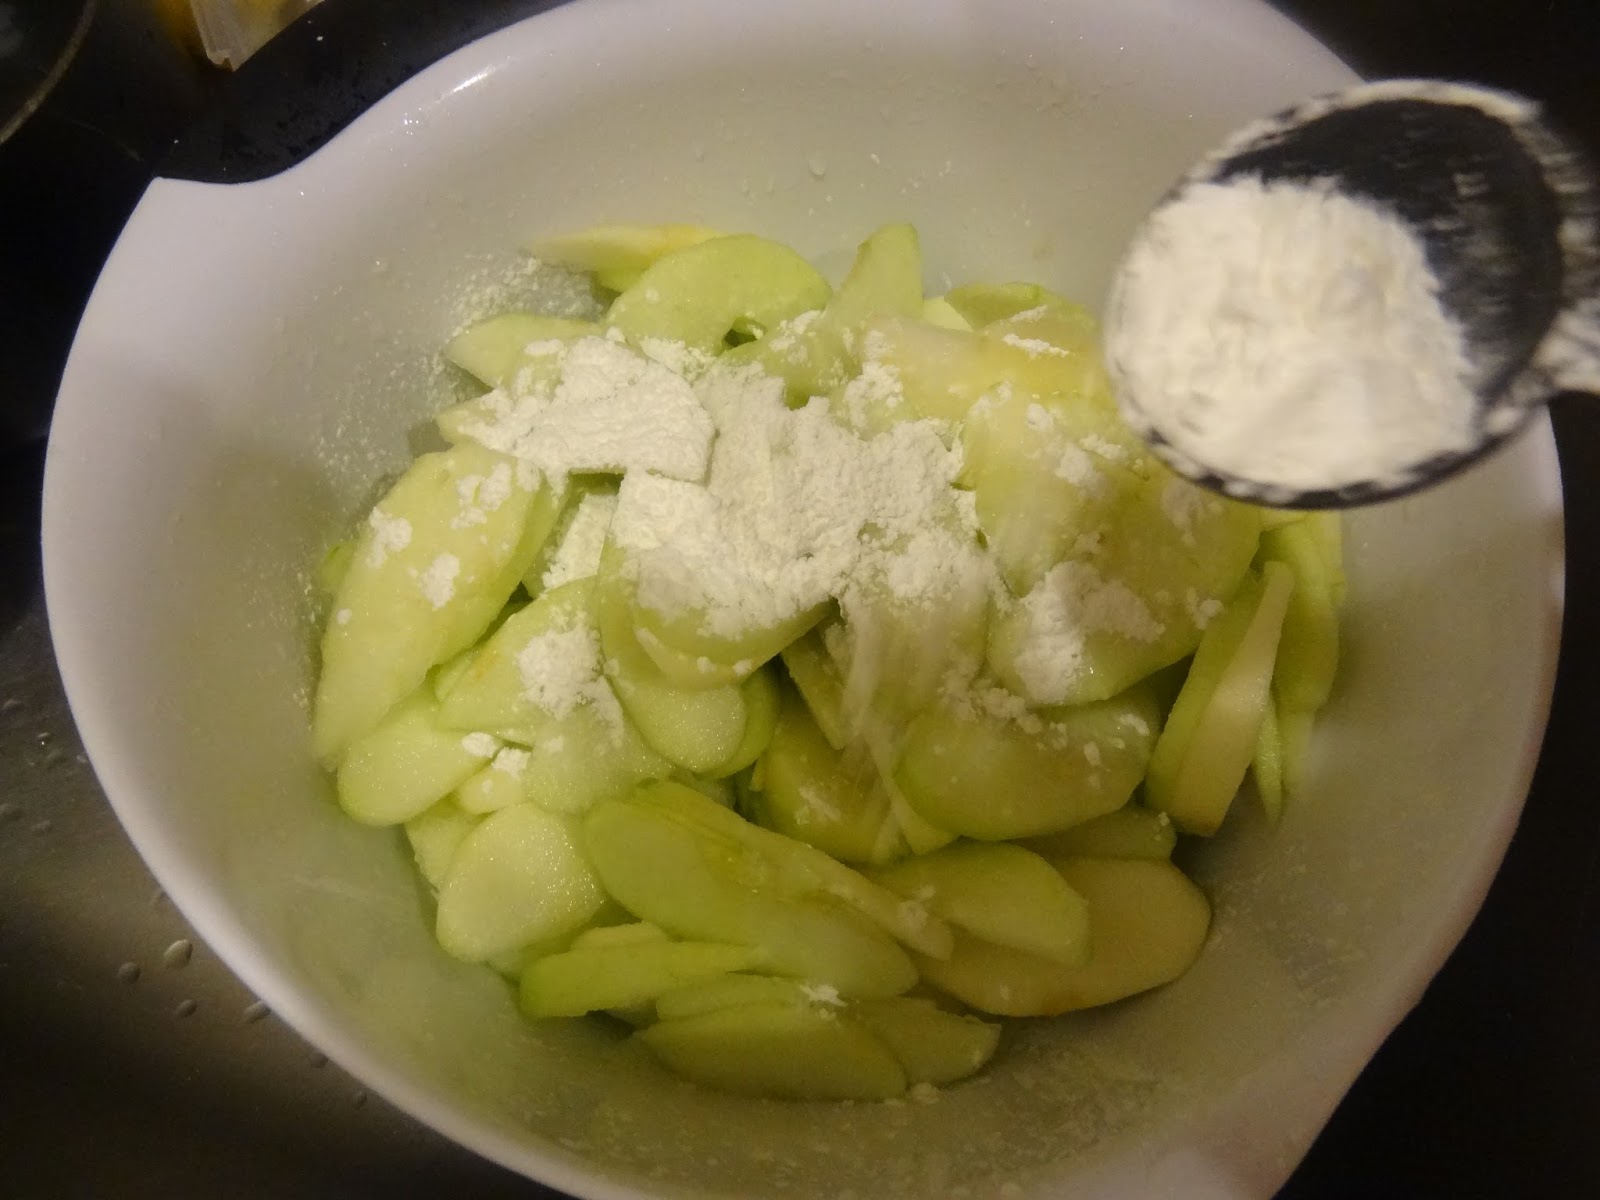
8/ Mix the drained apples slices with the cornstarch (or all-purpose flour) then pour the reduced syrup over the apples and toss well. 


9/ Pour the apples and the syrup into the chilled pie crust. 


10/ Place the top crust over the apples. Tuck any excess pastry under the bottom crust and them crimp the edges using a fork. 

11/ Using a sharp knife to make 5-6 slits (1.5 - 2 inches) from the center of the pie out towards the edge to allow the steam to escape.  After that, cover the pie with plastic wrap and place in the fridge to chill the pastry

12/ Preheat the oven to 425 degrees F (225 degrees C) 
*Remember to place a pan or a piece of aluminum foil to capture the juices from the pie* 

13/ Bake for about 35-50 minutes or until the juices start to bubble through the slits. The apples should feel tender when a fork/knife is inserted to test through one of the silts. 
Optional: To make the pie achieves a beautiful golden brown color, lightly beat an egg to make a wash and brush onto the crust. 

Remove the pie from the oven and place on a write rack to cool about 3-4 hours before cutting 

The pie should have a beautiful golden brown color like this! :) 

Close-up on the center slits 
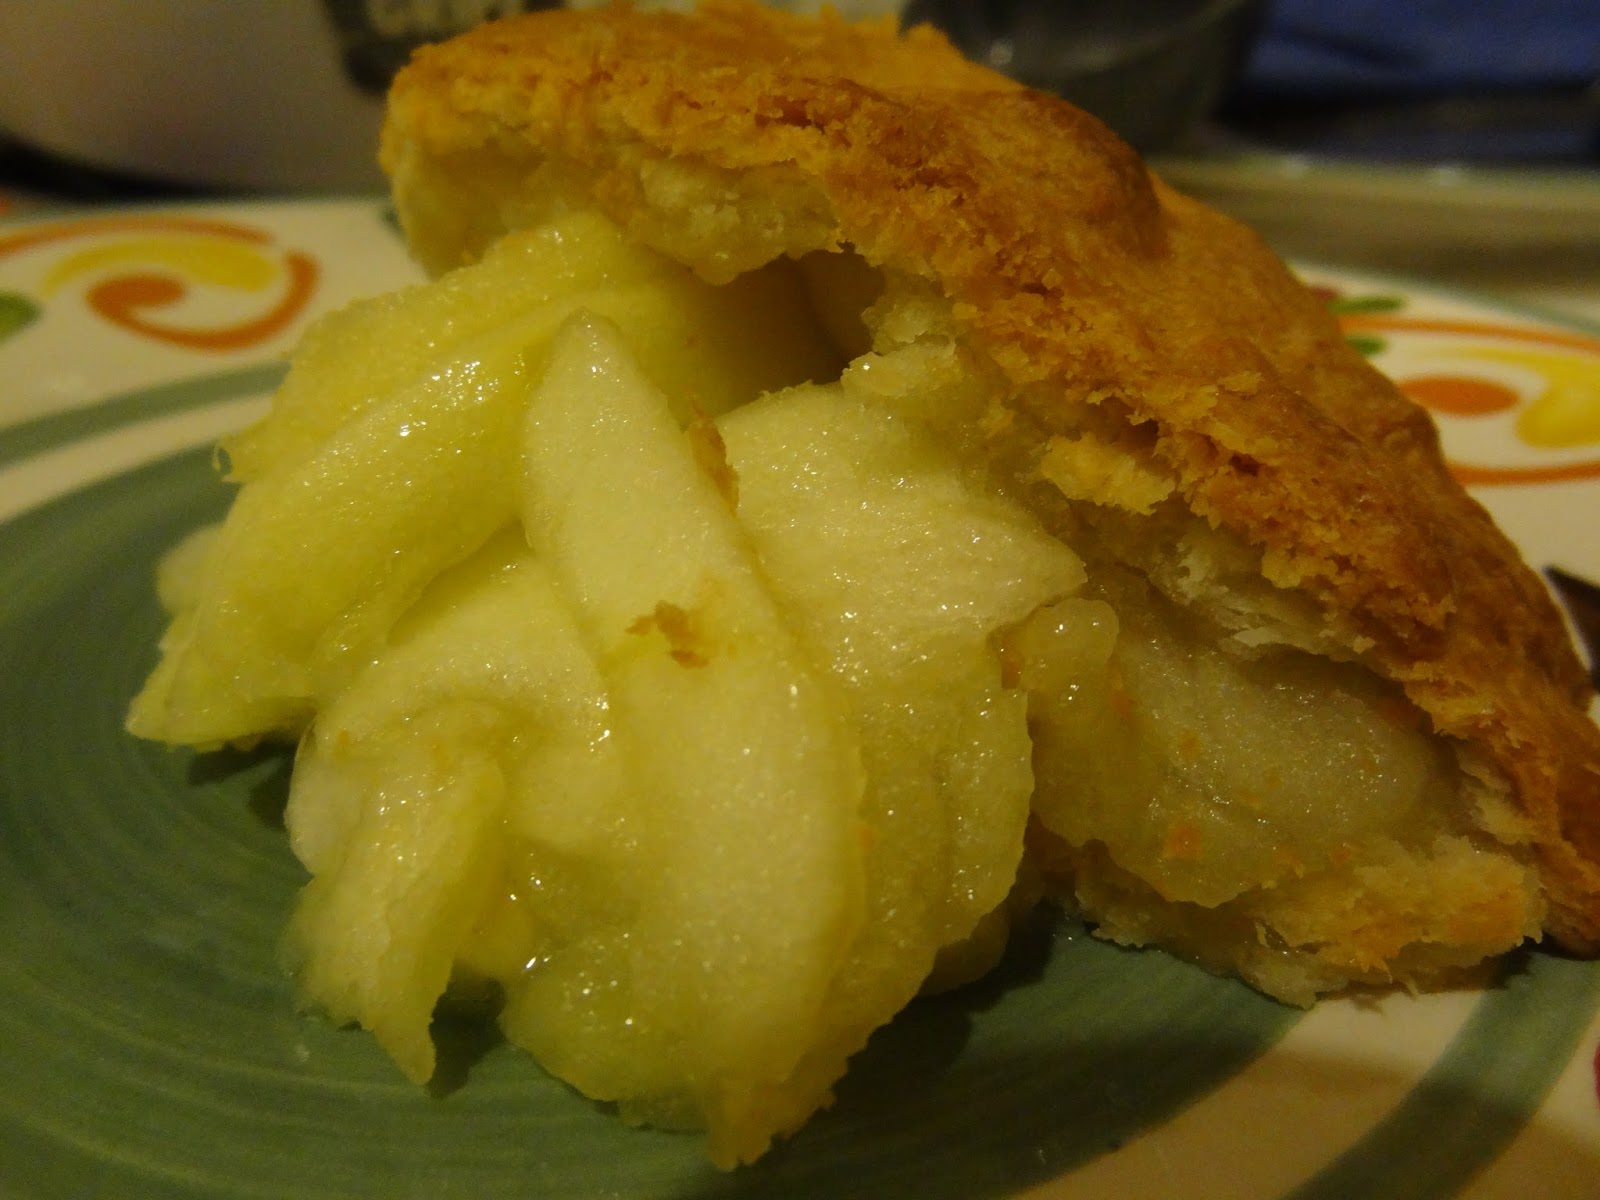
You can serve warm at room temperature with vanilla ice cream 

The fillings is very tender, not to sweet and buttery. The crust is crunchy and flaky. This apple pie is just perfectly delicious. Everyone can make this easy and yummy dish, give it a try! 

Cheers!
Happy cooking
Cher
August 12, 2013 


Wednesday, August 7, 2013

Banh Canh Cua - Vietnamese Thick Noodles in Crab Soup Recipe


Hello guys! Today I have decided to do something different. I have created a Youtube channel especially for this blog and I've uploaded my first (cooking) video! For this recipe, I have conducted all the information I found online and created my own version of Banh Canh Cua! If you live in any Asian country, lucky you because you'll be able to find every single ingredient from the original recipe. However, for some of you who are currently living in Western countries, I know it'd be harder for you guys to find such ingredients. I feel you haha! It's really hard to find the exactly same ingredients here in the United States, unless you live in California. So I've created this recipe especially for foreigners and studying abroad students. I hope you guys enjoy! 


Here is my video recipe on Youtube: 


Ingredients: 

Shrimp Cakes: 

1. 1/2 lb. of headless shrimp
2. 2-4 garlic gloves (mashed)
3. 1 tsp. of all-purpose flour/corn starch
4. 1 tsp. sugar
5. 1/2 tsp. salt
6. 1 tsp. pork/chicken powder
7. 1 Cup of vegetable (cooking) oil

Broth: 

1. 8 oz. of crab chunks
2. 5-6 shrimps with shells 
3. 1/2 tsp. sugar
4. Salt
5. Fish sauce
6. 1/2 tsp. pork powder
7. Shrimps shells (leftovers from Shrimp Cakes)
8. ~3 bowls of water

Coloring Oil:

1. Cooking oil
2. 1/8 Cup of Paprika 

Toppings: 

1. 6 oz. of crab meat
2. 1 tsp. fish sauce
3. 1 tsp. pork powder
4. Salt
5. 1/3 Paprika oil (from Coloring Oil Step)
6. Udon noodles/Vietnamese thick noodles 
7. 1/2 tsp. corn starch/tapioca starch 
8. Vietnamese Cilantro
9. Green onions/scallions 
10. Bean sprouts 
11. Straw mushrooms (optional)
12. 1/2 lb pork lean (optional)


Recipe:

1. Wash 1/2 lb. of shrimps under cool running water. Take off the shells (but don't throw them away!) and take out the black veins on the shrimps' backs (these veins are basically waste). Wash them once again and dry with kitchen towel. 

2. Mash about 2-3 gloves of garlic in pestle and mortar then put the shrimps in and continue mashing until combined. You can either marinate the shrimps before mashing or marinate the shrimps after mashing (Marinate with 1 tsp. of sugar, 1/2 tsp. salt and 1 tsp. pork powder). After that, add about 1tsp. of corn starch in the shrimp paste to hold everything together. 

3. Heat a generous amount of cooking oil in a small skillet over high heat. Shape the shrimp paste into small and round balls (aka "shrimp cakes"). Wait until the oil is hot enough, lower the heat to medium then put the shrimp cakes in. There should be a 1/2 inch distance from each of the shrimp cakes to prevent sticking. Deep fry until the shrimp cakes reach golden brown color on both sides. Take them out and put on a kitchen towel to let the towel absorbs all the excess oil. 

4. Marinate 8 oz. of crab chunks and 5-6 shrimps (with shells) with 1 tsp. of sugar, a pinch of salt, a bit of fish sauce, and 1/2 tsp. pork powder. Marinate for at least 30 minutes.

5. In a medium pot, pour in a little bit of cooking oil. Wait until the oil is hot enough, toss in some mashed garlic and stir until golden brown. After that, put in the shrimp shells in and stir until they're cooked. Put the shrimps & crab chunks mixture in the pot and stir until cooked. Then, add about 3 bowls of water (depends on the servings) then bring to a boil. After it's boiled, lower the heat to low and  shimmer for about 30 minutes - 1 hour. Season to your taste; I usually add pork powder/fish sauce.

*For this step, you can substitute the shrimp shells with pork bones/chicken bones. I couldn't get any the day I was cooking so I just improvised (and it also made the recipe easier).

6. Meanwhile, make the Paprika coloring oil. In a small skillet/pan, heat the oil over medium heat. Wait until the oil is hot enough, put in about 1/8 cup of Paprika powder and stir constantly until it's all dissolved and has a nice red color. Turn off the heat and pour the oil into a bowl.

*The original recipe requires annatto oil (from annatto seed) which I can't find it anywhere in the supermarket. But if you have it, you can substitute it with Paprika.

7. Marinate 6 oz. of crab meat with 1 tsp. of fish sauce, 1 tsp. of pork powder, a little bit of salt and 1 tsp. of sugar. You can also add the coloring oil to make the color appear better.


8. Heat up a small skillet with a bit of oil. Cook the crab meat for about 1-2 minutes then leave it aside.


For the toppings, you can also add some straw mushrooms in the broth if you like. Plus, you can also cook a small piece of pork lean in the broth/separate pot and cut it into thin slices to serve with the soup later on.


9. Pour 1/3 of Paprika coloring oil in the broth for better coloring.


10. Mix 1/2 tsp. of corn starch with water and pour it evenly on the surface of the broth then stir well; this will make the soup thicken. If you do not wish your soup to be thick, skip this step.


11. Either drain/cook the Udon/Vietnamese thick noodles in the broth and it out into a nice bowl.


And now, time for assembling!


12. Assemble the bowl of noodles with cooked crab meat, thin sliced pork, some deep fried shrimp cakes, Vietnamese cilantro, bean sprouts, scallions, fried shallots (optional) and pour the soup on top.


There you go, a delicious and traditional Vietnamese noodles in thick crab soup! :)


Happy cooking, 

Cheers,

August 7, 2013 

Sunday, June 30, 2013

Green tea (Matcha) Langue de Chat Cat's Tongue Cookies Recipe!


Hmmm... I'm officially obsessed with green tea! 

So I decided to add a new flavor to my 'midnight baking' session. I was about to bake some langue de chat cookies because I was craving for some sweet yet light desserts. And I suddenly thought about adding some matcha powder to the cookie mix to create a new taste and smell to my cookies! And they turned out to be sooooooo good and fresh! They are crunchy outside yet soft inside, not too sweet and light weighted! Let's get started with these awesome green tea langue de chat! 


Ingredients:

1/ 1/2 Cup - 1 Cup of all purpose flour (depends on how you like your cookies to be; if you want them to be soft, use 1/2 Cup; if you're like me and want the cookies to be on the "crunchy" and "floury" side then use 1 Cup)
2/ 1 stick or 1/4 Cup of Unsalted Butter (I actually used 1 1/4 stick because I love the buttery taste!)
3/ 1/2 Cup of confectioners sugar/granulated sugar (I personally find this a bit too plain so I put more, put if you're on diet or you don't like sweet, this enough is already enough)
4/ 3 medium egg whites
5/ 2-3 tablespoons of green tea matcha powder
6/ 1 teaspoon of Vanilla extract
7/ Mini semi-sweet chocolate chips (Optional)

Materials:

1/ 1 medium bowl
2/ Whisk/Hand mixer
3/ Spatula
4/ Aluminum foil/Baking sheet
5/ Baking tray
Let's begin baking!


1/ Line the baking trays with aluminum foils/baking sheet. My recipe can make 2-3 dozens so I lined 2 baking trays. 


2/ Pre-heat the oven to 400 degrees F/ 200 degrees C


3/ In a medium bowl, put 1 stick butter in by cutting them into small pieces or cubes. Or you can use soften butter at room temperature as well (I actually recommend soften butter because it would be easier to blend and it would give the cookies a better texture) 

*Note: Don't microwave the butter to melt it down because it's gonna turn into liquid which would make your cookies turn out to be TOO soft. I recommend putting the butter outside for about 10-15 minutes before baking to soften it (room temperature). 


4/ Measure 1/2 Cup of confectioner sugar and put it in the same bowl. Then mix them together until fluffy!


5/ In another bowl, separate the egg whites and egg yolks. 


6/ Pour in the 3 egg whites (1 at the time and mix well before putting another one in). Mix until combined. 


7/ Put 1/2-1 Cup of all purpose flour in
Also put in 1 teaspoon of vanilla extract
Then mix everything well together


8/ Put in 2-3 tablespoons of green tea matcha powder
If you want the cookies to have better color, add in a few drops of green food coloring.
After that, use a spatula to blend everything until combined. 


9/ Put the mixture in a ziplock bag with a tip. Or, you can use a scissor and cut the corner of the ziplock bag to create your own tip! 


OPTIONAL: You can add some cookie chunks/chocolate chips in the mixture and make choco green tea langue de chat cookies! 


10/ Squeeze the mixture onto the baking tray (3" each) and bake the cookies for about 6-7 minutes. You should check the cookies regularly because these cookies are really easy to be cooked. 

If your cookies are still not done after 6-7 minutes or the center of the cookies are still kind of wet then you can flip your cookies downwards and leave them in the oven at 350 degrees F for 1-2 more minutes. 

Bake until the edges are golden brown/slightly brown and your cookies are done! ~ 

11/ Cool on baking sheet for about 1-2 minutes then move them to cool completely on a cooling rack and your cookies are ready to be served!

Plain green tea langue de chat on the left and mini chocolate chips green tea langue de chat on the right. They both taste fantastic. The plain ones are more buttery and not that sweet while the choco chips ones are somewhat bitter-sweet. You can also add other ingredients (up to your own reference!)

Cheers!
Cher Vo
June 30, 2013

Saturday, June 1, 2013

Vietnamese Beefsteak

When I mention the term "beefsteak," you guys must be thinking of American steak right away. Steak is too popular in the U.S. as an iconic dish of America. American beefsteak is a flat cut of beef and is usually cooked using dry heat. Vietnamese beefsteak is quite different from the American one; it is usually served in hot pan along with Pâté (a cooked mixture of ground meat and fat), French fries and Vietnamese baguette.
American Steak (left) and Vietnamese Beefsteak (Right)
To be honest, even though I live in the U.S., I don't really like American steak. Personally, I think it's too big, thick and sometimes too chewy. Meanwhile, Vietnamese beefsteak is very thin and finely marinated before cooking so it's very soft, 'watery' and tasty (rather than tasteless). 
It's not that easy to find a Vietnamese Beefsteak restaurant here in the U.S., especially Boston, where there aren't that many Vietnamese. 
so I decided to make my own version of Vietnamese Beefsteak - easy and simple as ever. 
My version of Vietnamese Beefsteak with a fried egg, crispy fries, SPAM ham, and veggies. 
And of course, I will show you guys how to make this delicious Vietnamese dish! :)
By the way, I made this recipe up myself so there's no precise amount/number, sorry! 
Here are the ingredients that you'll need:

1/ 0.6 lbs or 250 grams of beefsteak (eye round steak); choose the Thin Sliced so it would be easier for marinating
Thin Sliced Steaks for Marinating that I got at Shaw's. 
2/ 2-3 potatoes, depends on how much fries you want
3/ 1 can of SPAM (optional; substitute for Pate)
4/ 1-2 eggs
5/ Vegetables
6/ 1-2 cloves of garlic
7/ 1-2 shallots
8/ Half a stick of butter (3 small cubes of butter, depends on how much you like butter!) 
9/ Seasoning spices:
A lot of seasoning spices make a perfectly marinated beefsteak

Salt, pepper, sugar, sesame oil, oyster oil, cooking wine (red wine/white wine), soy sauce, fish sauce and pork bone soup powder (bouillon). I really don't have precise amounts of the spices because my recipe is spontaneous but you guys can always tell if the beef is too salty or too sweet by the smell; that's what I did! :)
*You guys can also add chili powder and ginger powder for extra spiciness. 


Marinating the beef:

1/ Use a pestle or the end of a knife to press the meat down a few times to make it thinner (easier to marinate).
2/ Put the meat in a food container/bowl and add all the seasoning spices in. Use your hands, give it a nice toss to mix everything together.
3/ Marinate in the fridge for at least 2 hours or overnight.

Making Beefsteak:

1/ Heat up the pan with bit of cooking oil at medium-high heat
*Make sure the pan is not TOO hot otherwise your steak is gonna be burned!
2/ Put the beef in when the oil is hot enough and quickly turn the side to prevent burning
3/ Put in a generous amount of soy sauce
*You guys have to continuously turn the sides so that the beef would be done evenly
4/ Put in 1 cube of butter to the sauce. Meanwhile, cut the SPAM ham into small pieces and toss them in the sauce as well
*Season the sauce with a bit of sugar because the soy sauce is pretty salty itself
I like it well-done so I want to cook my steak for a bit longer but if you like medium-rare then you can turn off the heat and serve it on a plate with a bed of veggies along with some French fries and a fried egg. :)
FYI, they don't sell Vietnamese baguette here in Boston (as far as I know), so you guys can also substitute it with sandwich or American baguettes, either way is fine!

BONUS: Cher's Crispy fries recipe:

Making fries is extremely easy but I will show you a way to make it crispy, buttery and a bit spicy! It seems very complicated but it's actually EASY as ever.

1/ Peel 2-3 potatoes
2/ Cut them into thin strips, put a bit salt in and toss altogether then wash them under cold water
3/ Use kitchen towel to absorb the excess water so it the oil won't splash when you fry them
4/ Heat up a pan with cooking oil on medium heat (I prefer soy bean oil); Why medium heat? To cook the fries inside and out!
5/ Wait until the pan is hot enough then put the fries in. Fry until the fries reach a light yellow color then take them out
6/ Put in a cube of butter, a bit salt and chili powder (optional) and toss until fully dissolve
7/ Put the spiced fries in the fridge for about 20 minutes to chill. Why am I doing this? Because the fries will get extremely crispy the second time you fry it!!!
8/ After 20 minutes, heat up the pan again and put in 1 cube of butter in the oil
9/ Wait until the pan if hot enough and put the fries in one more time
10/ Fry until they reach a golden brown color then turn off the heat and take the fries out on a kitchen towel (for oil absorbing)
Now, your crispy fries are ready to be served! :)

You don't have to put the fries in to complete this recipe, I have actually tried making the steak itself without fries or veggies once and it still turned out pretty good! :)


June 1, 2013
Good luck guys! 
Cheers!